Need to know how to take a finger-prick blood test? We’ve got you covered.
We understand that the idea of carrying out a finger-prick blood test may be difficult. We’re here to help you with our top tips for taking a finger-prick blood test to make the process as easy as possible. We’ll cover all the key steps, from activating your test kit to posting your sample back to our lab, and give you lots of helpful advice on how to actually take the blood sample.
Read the instructions
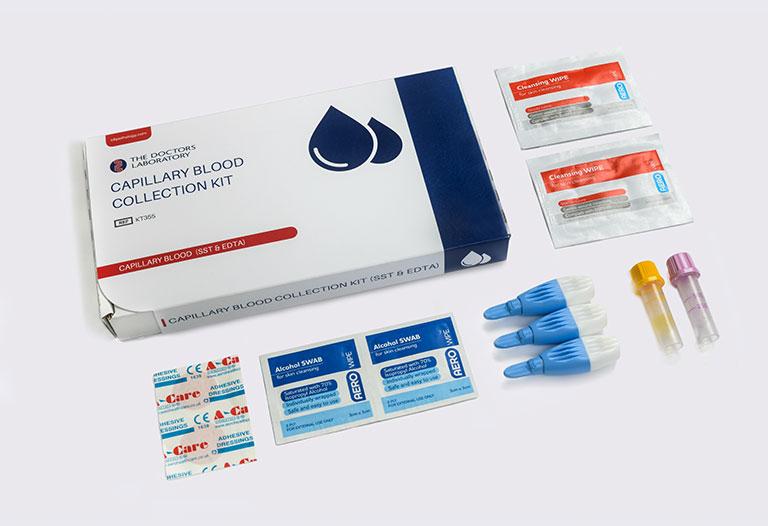
We know it sounds obvious, but even if you’ve done a finger-prick blood test before, you need to read the instructions. The process or kit may have changed since you last did it and if you’ve never taken one before you need to understand what’s involved. Your instruction leaflet will list all the items that should be in your kit. It’s a good idea to check to make sure that everything is there.
You might also find it helpful to watch a quick video on how to take a finger-prick blood test:
Timings
It should take you about 30 minutes to take a finger-prick blood test. It’s usually a good idea to test in the morning, especially if you need to fast beforehand (i.e. not eat breakfast).
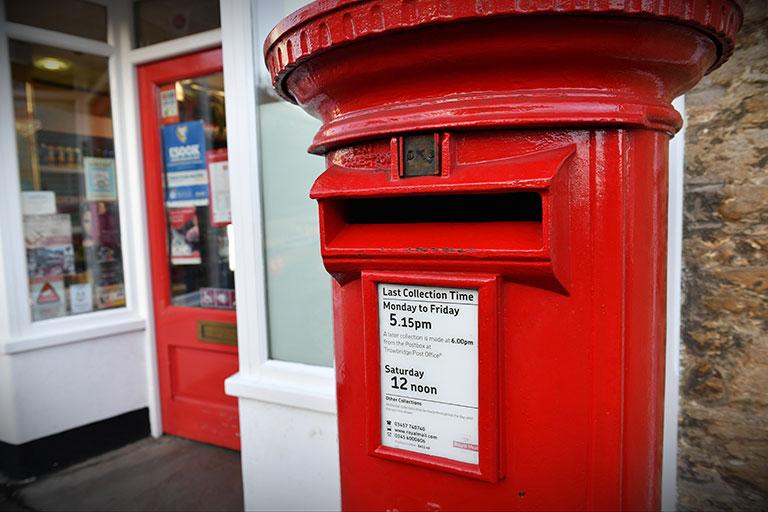
Also, it’s best if the lab receives the sample as soon as possible after you’ve taken the sample. Allow plenty of time to complete the test and post it the same day before the last collection from your postbox. Be wary of weekends and Bank Holidays - make sure your sample will reach the lab the next day after posting. We recommend only taking samples on Monday to Thursday for this reason.
You might be able to hand your sample directly to the lab if you live close enough. In this case, you won’t need to think about the post.
Prepare yourself
You don’t need to fast before doing the test or change your diet unless you’ve been told otherwise. Just eat your normal diet and make sure you’ve followed it for more than a week.
Drink lots of water before doing the test. Drinking water increases your blood volume and thins out your blood. Being well hydrated helps with blood collection.

Activate your finger-prick blood test kit
Activate your kit in your personal online dashboard before you take your sample. This makes sure we have your details and know to expect your sample in the lab. Your dashboard is also where you can keep an eye on the status of your test and where you’ll be able to see your results. Activation is really important and the lab won’t usually be able to analyse your sample if you forget to do it.
Prepare your space
You need to pick a table or surface to set up your kit and take your sample. Ideally you want the surface to be lower than the height of your elbow when you’re standing up. This is to allow gravity to give you a helping hand with getting your blood sample. Make sure the surface has plenty of space and give it a wipe down so it’s clean. You might get a drop or two of blood on the table when taking your test so you may like to lay down some newspaper or kitchen paper.
Lay out your test equipment so it’s ready to use. You’ll find that the blood tubes stand up in the wallet that comes with your kit which is helpful. Take off the tube lids so that you can easily add the blood to them when you’re taking the sample.
Each tube will have a “fill line” showing how much blood is needed. Your instructions will also confirm this. It’s really important to try to fill your sample tubes to at least the fill line so there’s enough blood to run your tests.
If it’s your first time collecting a finger-prick blood sample you might feel a bit nervous. You could put on some relaxing music in the background and maybe have someone else around to offer moral support just in case.
Warm up your hands and fingers
In order for the finger-prick blood test to work, you need plenty of blood in your hands and fingers. One of the best ways to do this is to make sure that your hands are nice and warm. We recommend washing your hands with warm water and then soaking them for a few minutes. This’ll get them toasty and get the blood flowing to your finger-tips. Swing your arms around and do some light exercise to warm up and encourage blood flow to your hand.
Do the “Windmill”
Another great way to get plenty of blood in your hand before you take your finger-prick blood test is to “windmill” or swing your arms around a few times just like you might do on a cold day! Clenching and unclenching your fist several times will also help.
Which finger should you prick?
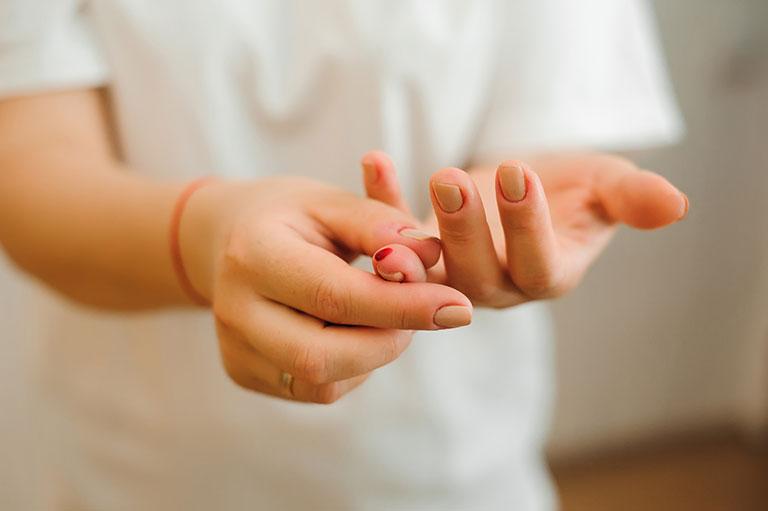
It makes sense to choose a finger on your non-dominant hand so you can use your dominant hand to do all the other bits you need for your test. So, if you’re right-handed, we recommend pricking a finger on your left hand., Usually your pinky finger or ring finger is the best choice.
Push firmly with the lancet
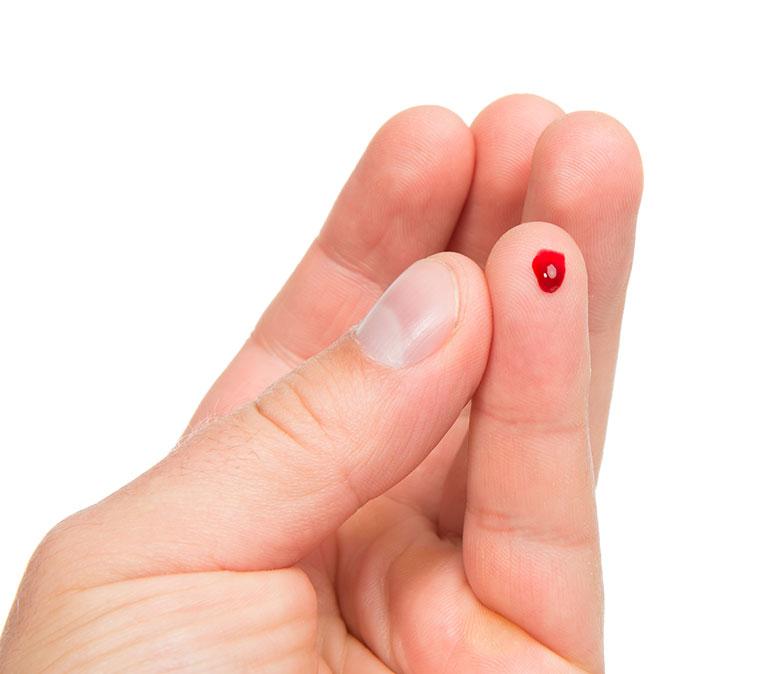
You’ll use a lancet to prick your finger. The lancet is designed to make the finger-prick as quick and painless as possible. But, you have to use it properly. One of the most common reasons people struggle with a finger-prick blood test is not pressing the lancet firmly against their finger when they activate it.
Once you’ve chosen the finger to prick, stand up and lay the back of that hand flat on a firm surface with your palm facing upwards. Remove the cap from the lancet and press it firmly against the side edge of your finger pad. The lancet is spring loaded and will do the finger-prick automatically.
“Milk” blood into your collection tube
Hold your pricked finger above the collection tube. Firmly massage in a downwards motion from the base of your palm to your pricked finger, just above where you made the finger-prick. You’re aiming to “milk” drops of blood from your finger into the tube. Don’t press too close to the tip of your finger otherwise you’ll actually stop the blood coming.
If you’ve warmed your hand prior and done some exercises to help with blood flow, you should have no problem collecting enough blood. If not enough blood is coming out, you can try clenching and unclenching your fist a few times to get the blood flowing.
Sometimes the finger-prick seals up too quickly to collect all the blood you need, especially if you’re doing two sample tubes. Your kit will come with a few spare lancets so you can prick another finger to get enough blood.
Once you’ve filled the collection tube to the line, secure the lid on the tube tightly and turn the tube upside down a few times to make sure that the blood is mixed well. Stick a plaster on your finger if you need to.
Fill in your details
You may need to label the collection tube with your name, date of birth, sample type and so on. Sometimes there is also a form to complete with the same information. It’s really important to complete any paperwork and return it to the lab with your sample otherwise they may not be able to run your tests.

Post your finger-prick blood test to the lab
Use the addressed return envelope included in your kit to post the sample back to the lab. Don’t forget to include any paperwork with your details.
You’ll find a Royal Mail tracking number on your return envelope. We recommend making a note of this so you can track your sample return and make sure it reaches the lab ok.
When will you receive your finger-prick blood test results?
It depends exactly on the type of test you’re taking. Most results take one to two days to come back from when the lab receives your sample.
Don’t worry, we’ll let you know as soon as your results are ready to check out in your dashboard. You’ll also get a report and advice from one of our doctors so you understand everything about your finger-prick blood test result.
Can I order a finger-prick blood test today?
You can order finger-prick blood tests from Selph. We’re here to help you on your journey to better health. We offer different diagnostic tests and test panels to suit your needs. Order your finger-prick blood test today.
Get tips on better health
Sign up to our emails on the better way to better health.
We'll keep you up-to-date with the latest research, expert articles and new ways to get more years of better health.


